Andrea Mosaic is a really neat & easy to use program that I have used for years. If you are looking for a one-of-a-kind gift to surprise someone with this Christmas, you might want to check it out.
I’m not sure if the website offers a newer version than the one I’ll show you, though mine is years old and operating on XP.
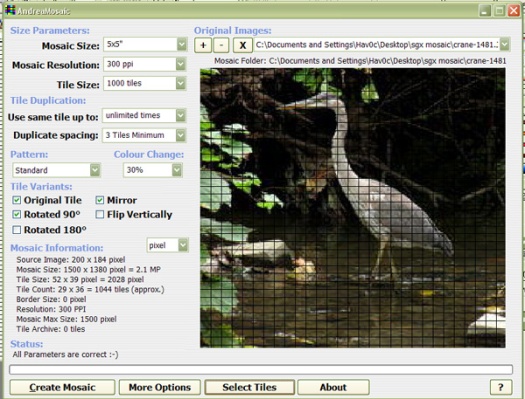
First, as shown above, open the program and select the plus sign near the top to insert the image you want all of your pictures to form. In my case, I selected the crane.
———————————————————————————————–
Notice the setting on the left. If you hover your mouse over an area for a minute, a pop-up will appear explaining what each option does. For print, you want the ppi to be set high. Next, click the ‘select tiles’ button on the bottom. This will open a window for you to navigate to your folder with the images you wish to use to create the mosaic. Note that it can also select any subfolders located in the selected folder.
Click ‘OK’ to select the folder.
———————————————————————————————–
And save your archive.
———————————————————————————————–
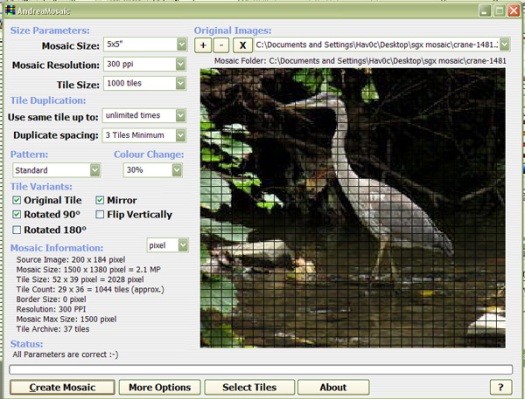
This shows the images added. Click ‘OK’ to continue.
———————————————————————————————–
Click ‘Create Mosaic’. The statue bar at the bottom will show your progress. When it’s completed, it should give you the option to open the folder it was saved to so you can preview it.
Before printing, make sure you zoom in at 100% and check for pixelization. Also, double check your measurements in inches. If you plan on having a print shop print it, run a test print to check for sharpness.
These make great gifts and are easy to do. Check it out: http://www.andreaplanet.com/andreamosaic/


